<?xml version="1.0" encoding="utf-8"?><feed xmlns="http://www.w3.org/2005/Atom" ><generator uri="https://jekyllrb.com/" version="4.2.2">Jekyll</generator><link href="https://hexifact.co.uk/feed.xml" rel="self" type="application/atom+xml" /><link href="https://hexifact.co.uk/" rel="alternate" type="text/html" /><updated>2022-08-14T08:42:56+01:00</updated><id>https://hexifact.co.uk/feed.xml</id><title type="html">Hexifact</title><subtitle>Projects in wood, metal, code and words.</subtitle><entry><title type="html">Planing Stop Update</title><link href="https://hexifact.co.uk/woodwork/workshop/2022/05/16/planing-stop-update.html" rel="alternate" type="text/html" title="Planing Stop Update" /><published>2022-05-16T15:18:50+01:00</published><updated>2022-05-16T15:18:50+01:00</updated><id>https://hexifact.co.uk/woodwork/workshop/2022/05/16/planing-stop-update</id><content type="html" xml:base="https://hexifact.co.uk/woodwork/workshop/2022/05/16/planing-stop-update.html"><![CDATA[<p>Having used my planing stop for a while several issues have come to light. None of them are fatal and some can be easily solved.</p>

<p>First and easiest to fix, the spikes weren’t sharp enough to stop the wood pulling out, especially softwood. I have filed them to be longer and pointier. Time will tell whether they need to be case hardened to keep them sharp, but they work much better at the moment.</p>

<p>More seriously, having a protrusion on the left hand side of the bench gets in the way of using the vice. It means you have to saw 3 inches farther out which is a problem for thin workpieces. You could put the planing stop on the opposite corner of the bench to the vice, so you go around to the other side to use it.</p>

<p>The other problem is that the space beneath the spikes gets full of shavings so you can’t lower them. This must happen with the traditional style of stop as well. I probably just need to sweep up more often.</p>

<p>Otherwise, I think it works quite well. It’s certainally better than trying to do everything in the vice.</p>]]></content><author><name></name></author><category term="woodwork" /><category term="workshop" /><summary type="html"><![CDATA[Having used my planing stop for a while several issues have come to light. None of them are fatal and some can be easily solved.]]></summary></entry><entry><title type="html">Planing Stop</title><link href="https://hexifact.co.uk/woodwork/workshop/2022/05/03/planing-stop.html" rel="alternate" type="text/html" title="Planing Stop" /><published>2022-05-03T16:46:43+01:00</published><updated>2022-05-03T16:46:43+01:00</updated><id>https://hexifact.co.uk/woodwork/workshop/2022/05/03/planing-stop</id><content type="html" xml:base="https://hexifact.co.uk/woodwork/workshop/2022/05/03/planing-stop.html"><![CDATA[<p>Several years ago I constructed a simple but heavy workbench out of 4x2 timber joined with screws with two layers of mdf for the top. It served my needs for a solid flat surface on which to leave tools lying around and spill things but after a long workshop hiatus I realised the top had degraded beyond repair and needed to be replaced. Having come to loathe working with MDF I substituted a nice clean sheet of 1/2” plywood and added a Record No. 55 vice. It is still far from ideal though. The screws continually work loose and have to be tightened and for woodwork, sheet ply is incompatible with all the traditional methods of workholding which require boring holes through the bench top.</p>

<p>Since my dream of building a proper woodwork bench is still someway off I have been looking for workarounds. The most pressing need is a planing stop to replace the horrible arrangement of clamps and batons I have been using to stop boards flying off the end of my bench.</p>

<p>The traditional planing stop consists of a spiky metal plate attached to a square peg wedged into a corresponding hole in the top of the bench. It can be raised to a suitable height for the board being planed and then knocked back down flush with the benchtop when not needed. Clearly this won’t work in 1/2” ply. I could just screw the stop the the end of my bench but I like the idea of something adjustable which doesn’t have to be unscrewed when it’s not needed. What I came up with is this:</p>
<figure>
<img src="/assets/planing_stop_1.jpg" alt="Front View" />  
<figcaption>Front View</figcaption>
</figure>

<p>
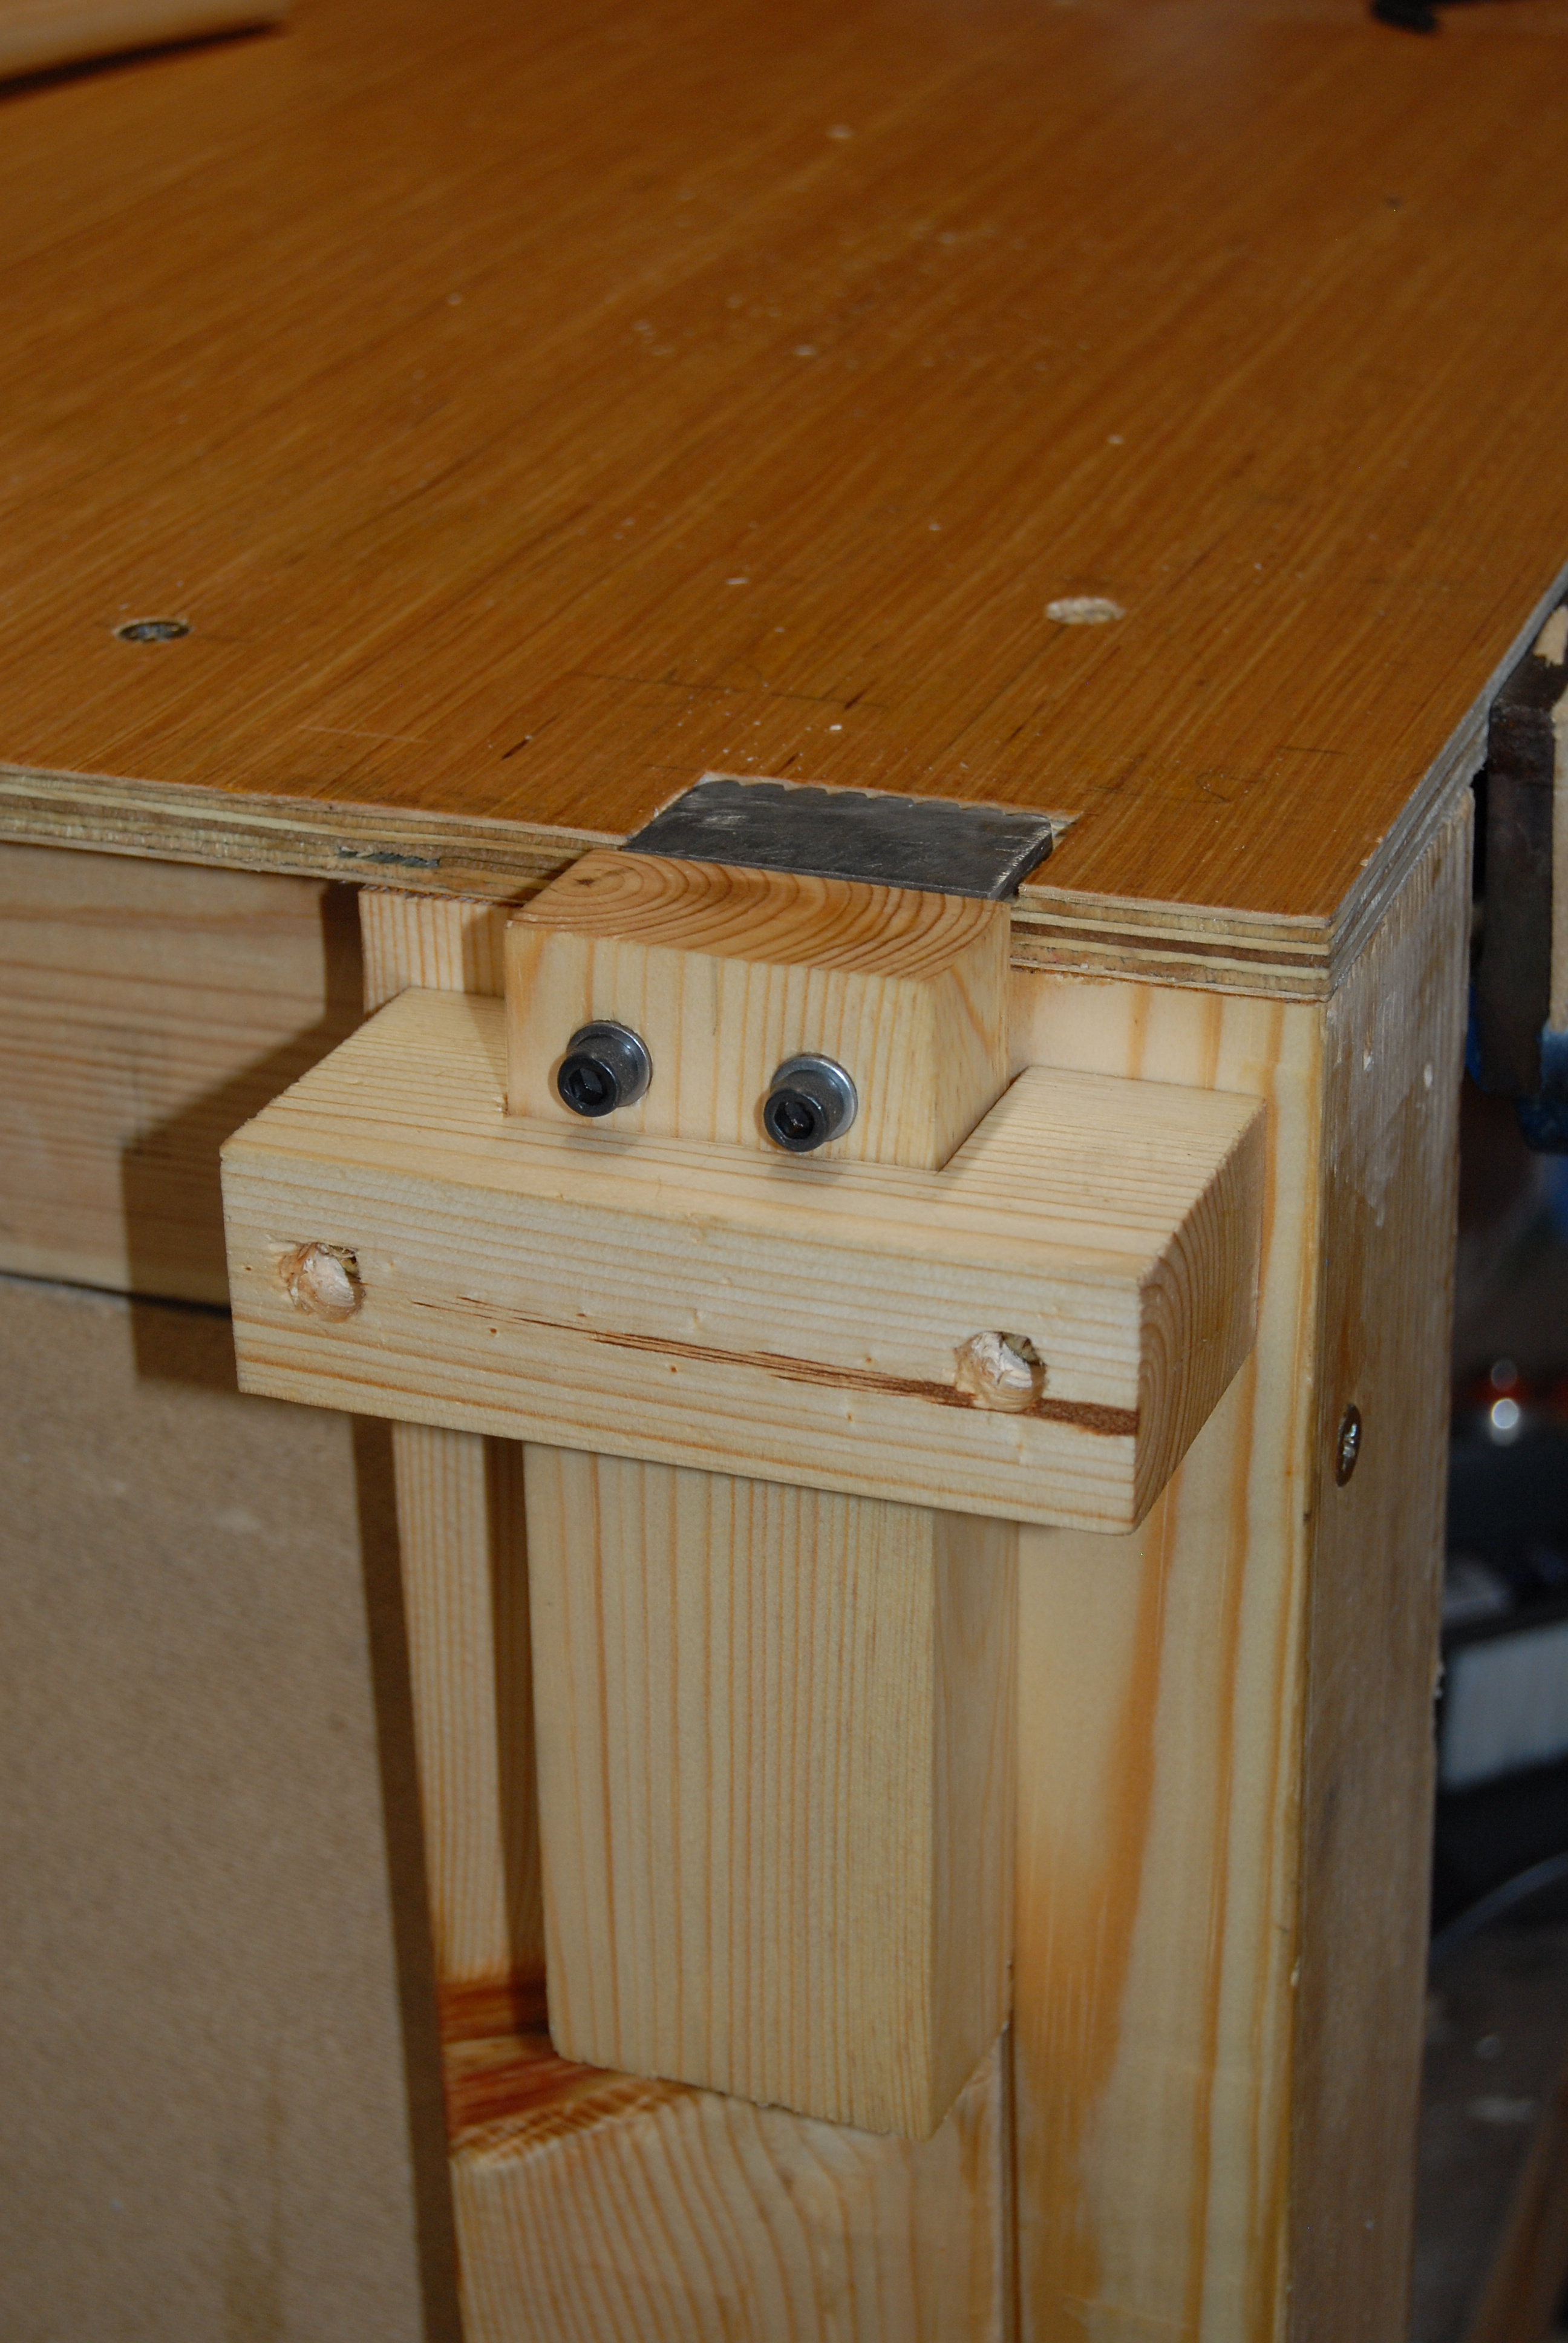
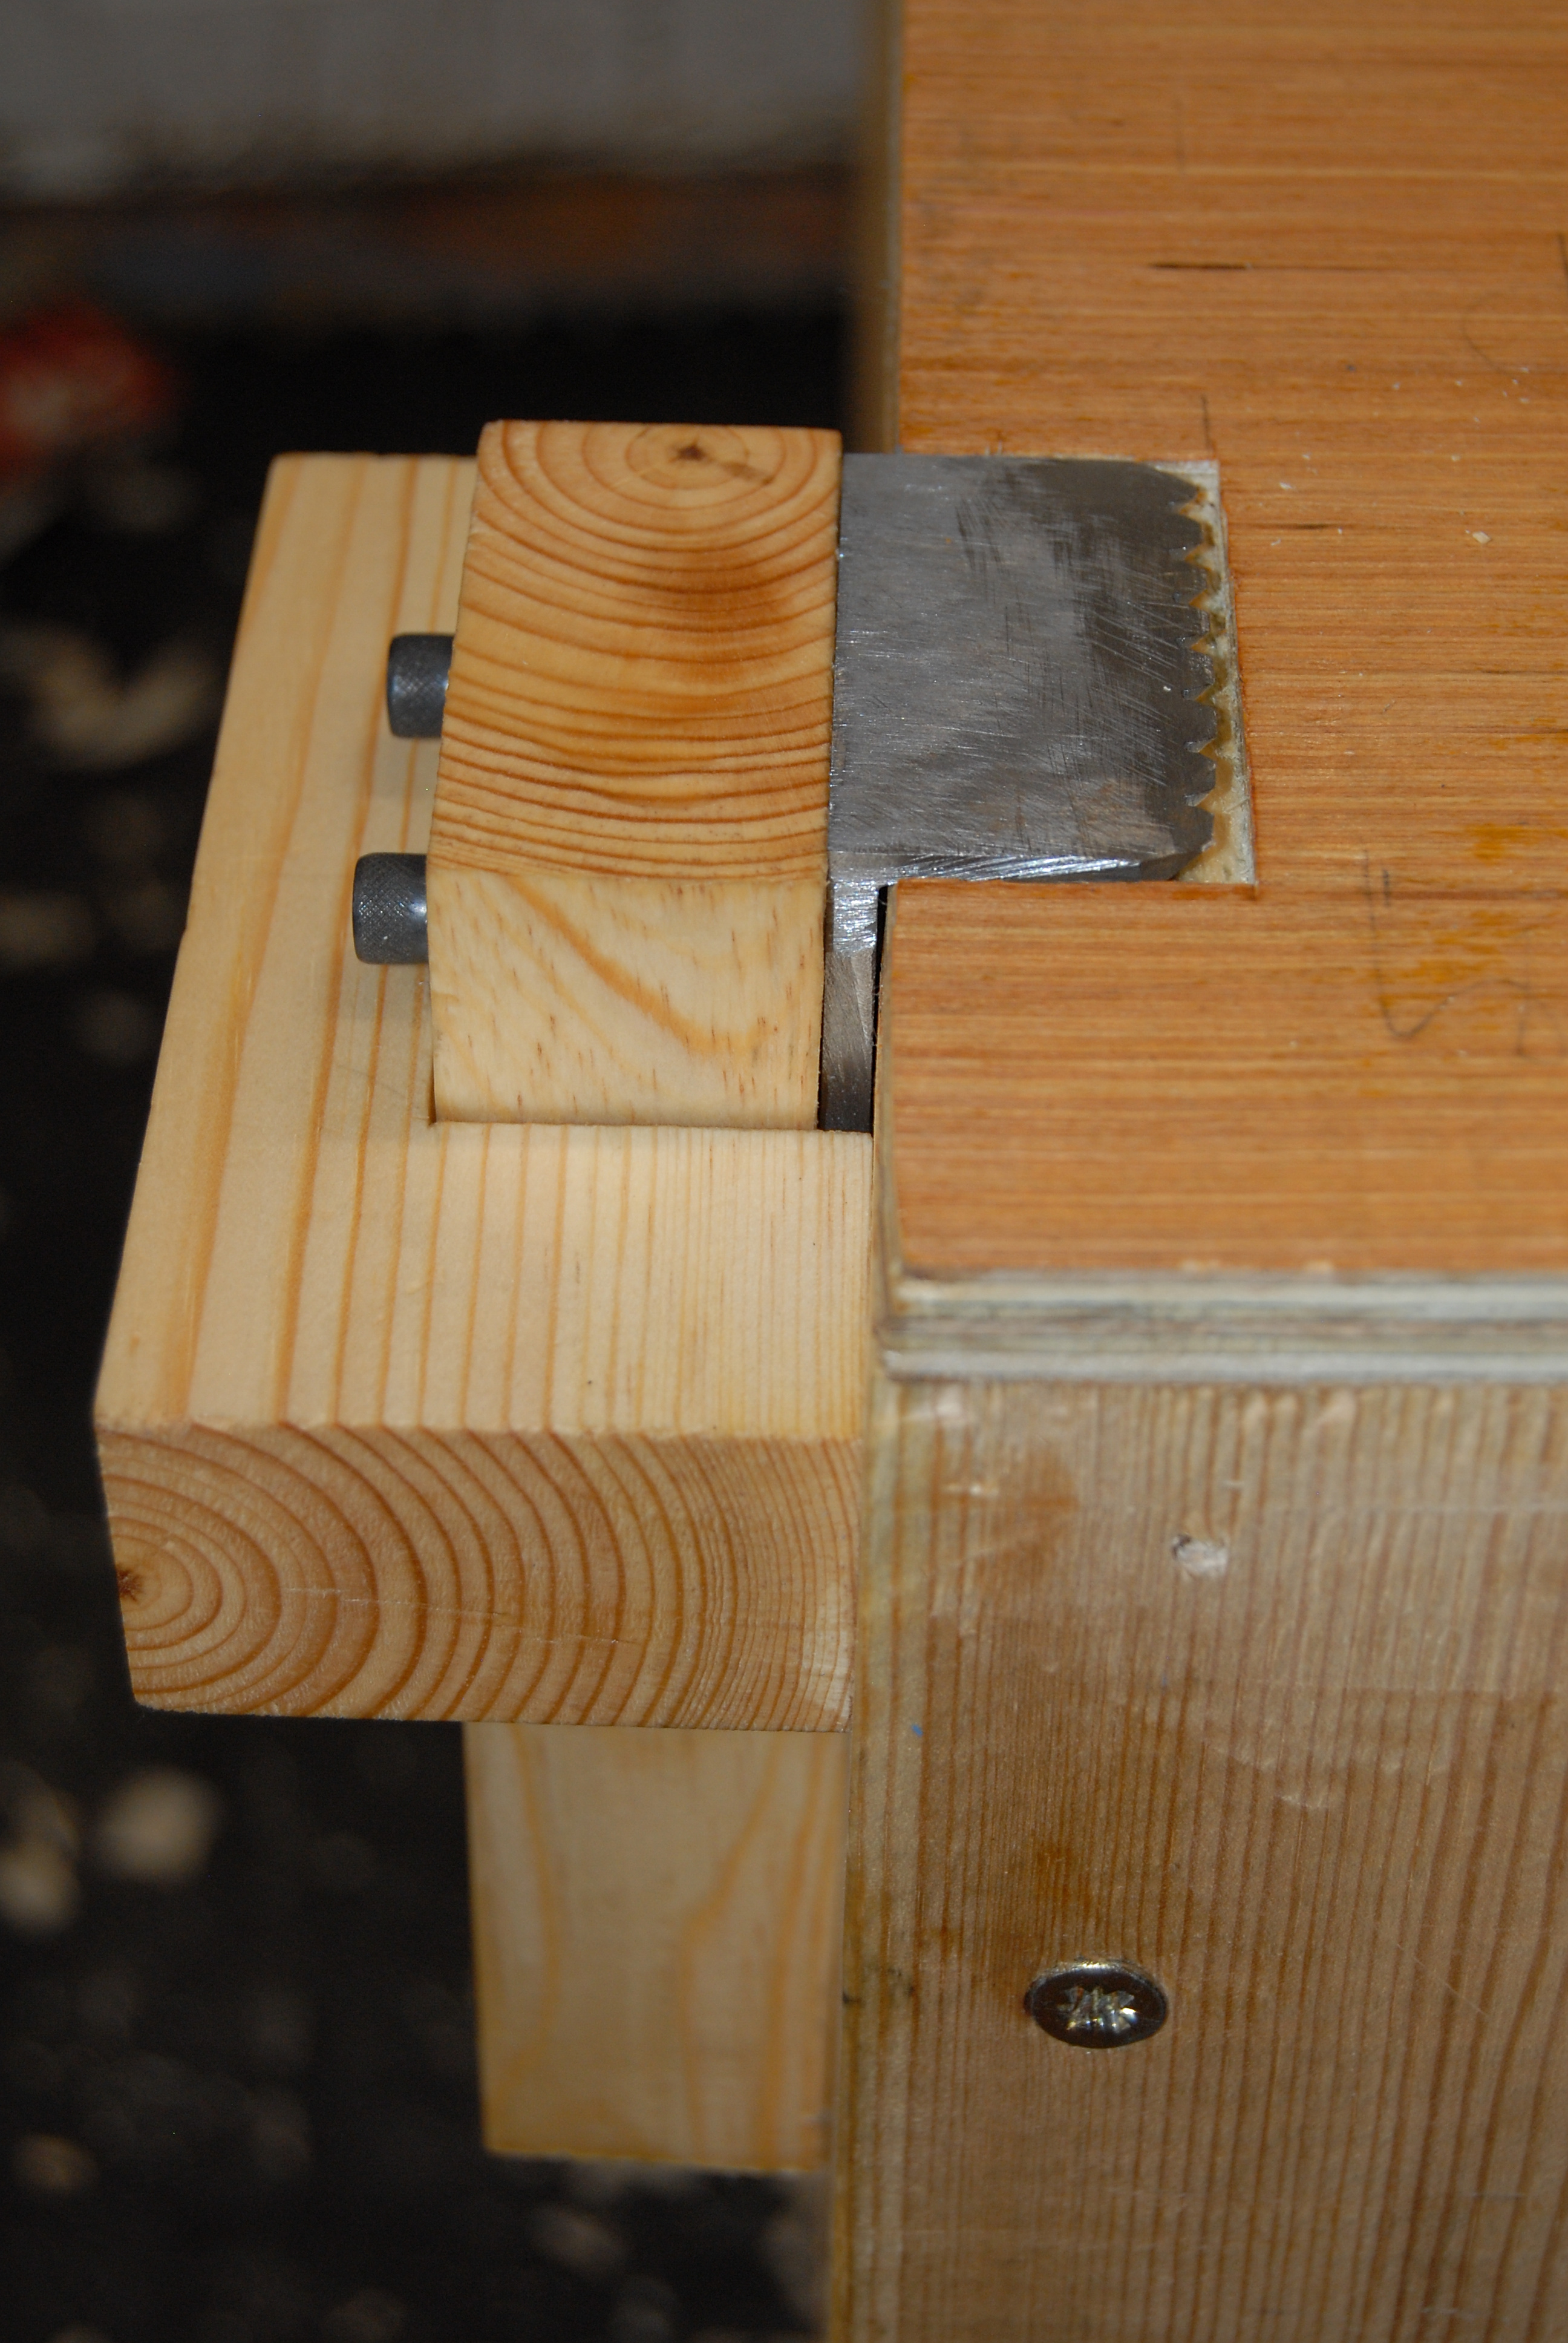
The moving part is similar to a traditional planing stop, with the spikes filed into a piece of angle iron which is set in a rebate in the wooden peg. Instead of a hole in the bench there is a U-shaped bracket screwed to the end of the bench, in which the peg is a tight fit. It can be raised and lowered in the normal way and the only modification to the bench surface is a small recess for the teeth to fit into when the stop is lowered.</p>
<figure>
<img src="/assets/planing_stop_2.jpg" alt="The spikes sit flush with the bench top when lowered" />  
<figcaption>The spikes sit flush with the bench top when lowered</figcaption>
</figure>

<p>I’ve used it a few times now and it seems to work pretty well. I did cut the back of my hand, but that was while I had it out to finish with oil.</p>]]></content><author><name></name></author><category term="woodwork" /><category term="workshop" /><summary type="html"><![CDATA[Several years ago I constructed a simple but heavy workbench out of 4x2 timber joined with screws with two layers of mdf for the top. It served my needs for a solid flat surface on which to leave tools lying around and spill things but after a long workshop hiatus I realised the top had degraded beyond repair and needed to be replaced. Having come to loathe working with MDF I substituted a nice clean sheet of 1/2” plywood and added a Record No. 55 vice. It is still far from ideal though. The screws continually work loose and have to be tightened and for woodwork, sheet ply is incompatible with all the traditional methods of workholding which require boring holes through the bench top.]]></summary></entry></feed>